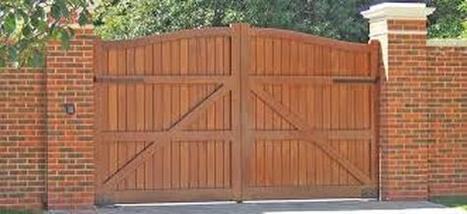
Almost all wooden gates need some form of diagonal bracing that is always put in place at the lower end of gates at the hinge side. Some styles of timber gates make use of double diagonals, but in fact the 2nd diagonal has a lot more to do with the aesthetics of timber gates than to the durability of the structure.
The advantage of a braced frame is that it could accept any type of infill and could be used with any style of timber fence. It is also rugged enough to support the infill's weight up to the size of three feet by six feet.
Before cutting the framing, measure the opening of the timber gate. Take precise measurements between the gate's posts at the top and bottom. If you get different measurements, it simply means that one or both of the gate's post aren't plumb. Mounting a gate on tilted posts will make a gate look like it's sagging, and it will sag over time. You could make a small adjustment by shimming the hinges out to level the timber gate. However, you must straighten or replace a post that is extremely not level. Once you get the precise measurements, subtract the amount of clearance and then use this dimension to cut the gate's framing.
Use kiln-dried wood for the gate's frame. Make sure to cut the rails to the frame's full width. Cut the stiles up to a length that would put the rails of the gate on the same plane as the rails. For a cleaner look, you could use miter joints or butt joints at the corners. Half lap the corners for increased strength. To improve the strength of the gate even more, apply polyurethane glue to the gate's joints before you fasten them.
If you need professional help installing or building a gate, visit the experts. Check out Australian Lattice & Timber for more information by checking out this link: http://www.australianlatticeandtimber.com.au/fencing-supplies/. Or you can visit this website.
